
I have had my eye on a blanket ladder for years! I love the coziness they add to a space and for someone who has a lot of blankets, having somewhere to store them is always a good idea. I just couldn’t shell out the money to pay the outrageous prices the store charge for one. So of course, I took to Pinterest to get inspiration on how to make a farmhouse ladder on the cheap!
This post by Simple Made Pretty gave me the most inspiration. Her post is what gave me the idea to use paint sticks! Seriously GENIUS! I knew I wanted a taller ladder however than her plans called for so I started to think of inexpensive ways to get the height I needed while still keeping the project low cost. Then the light bulb went off!
This simple farmhouse ladder came together after a trip to Home Depot for paint supplies. I saw yard sticks and the light bulb went off! I picked up some yard sticks in hopes that what I had in mind would work.
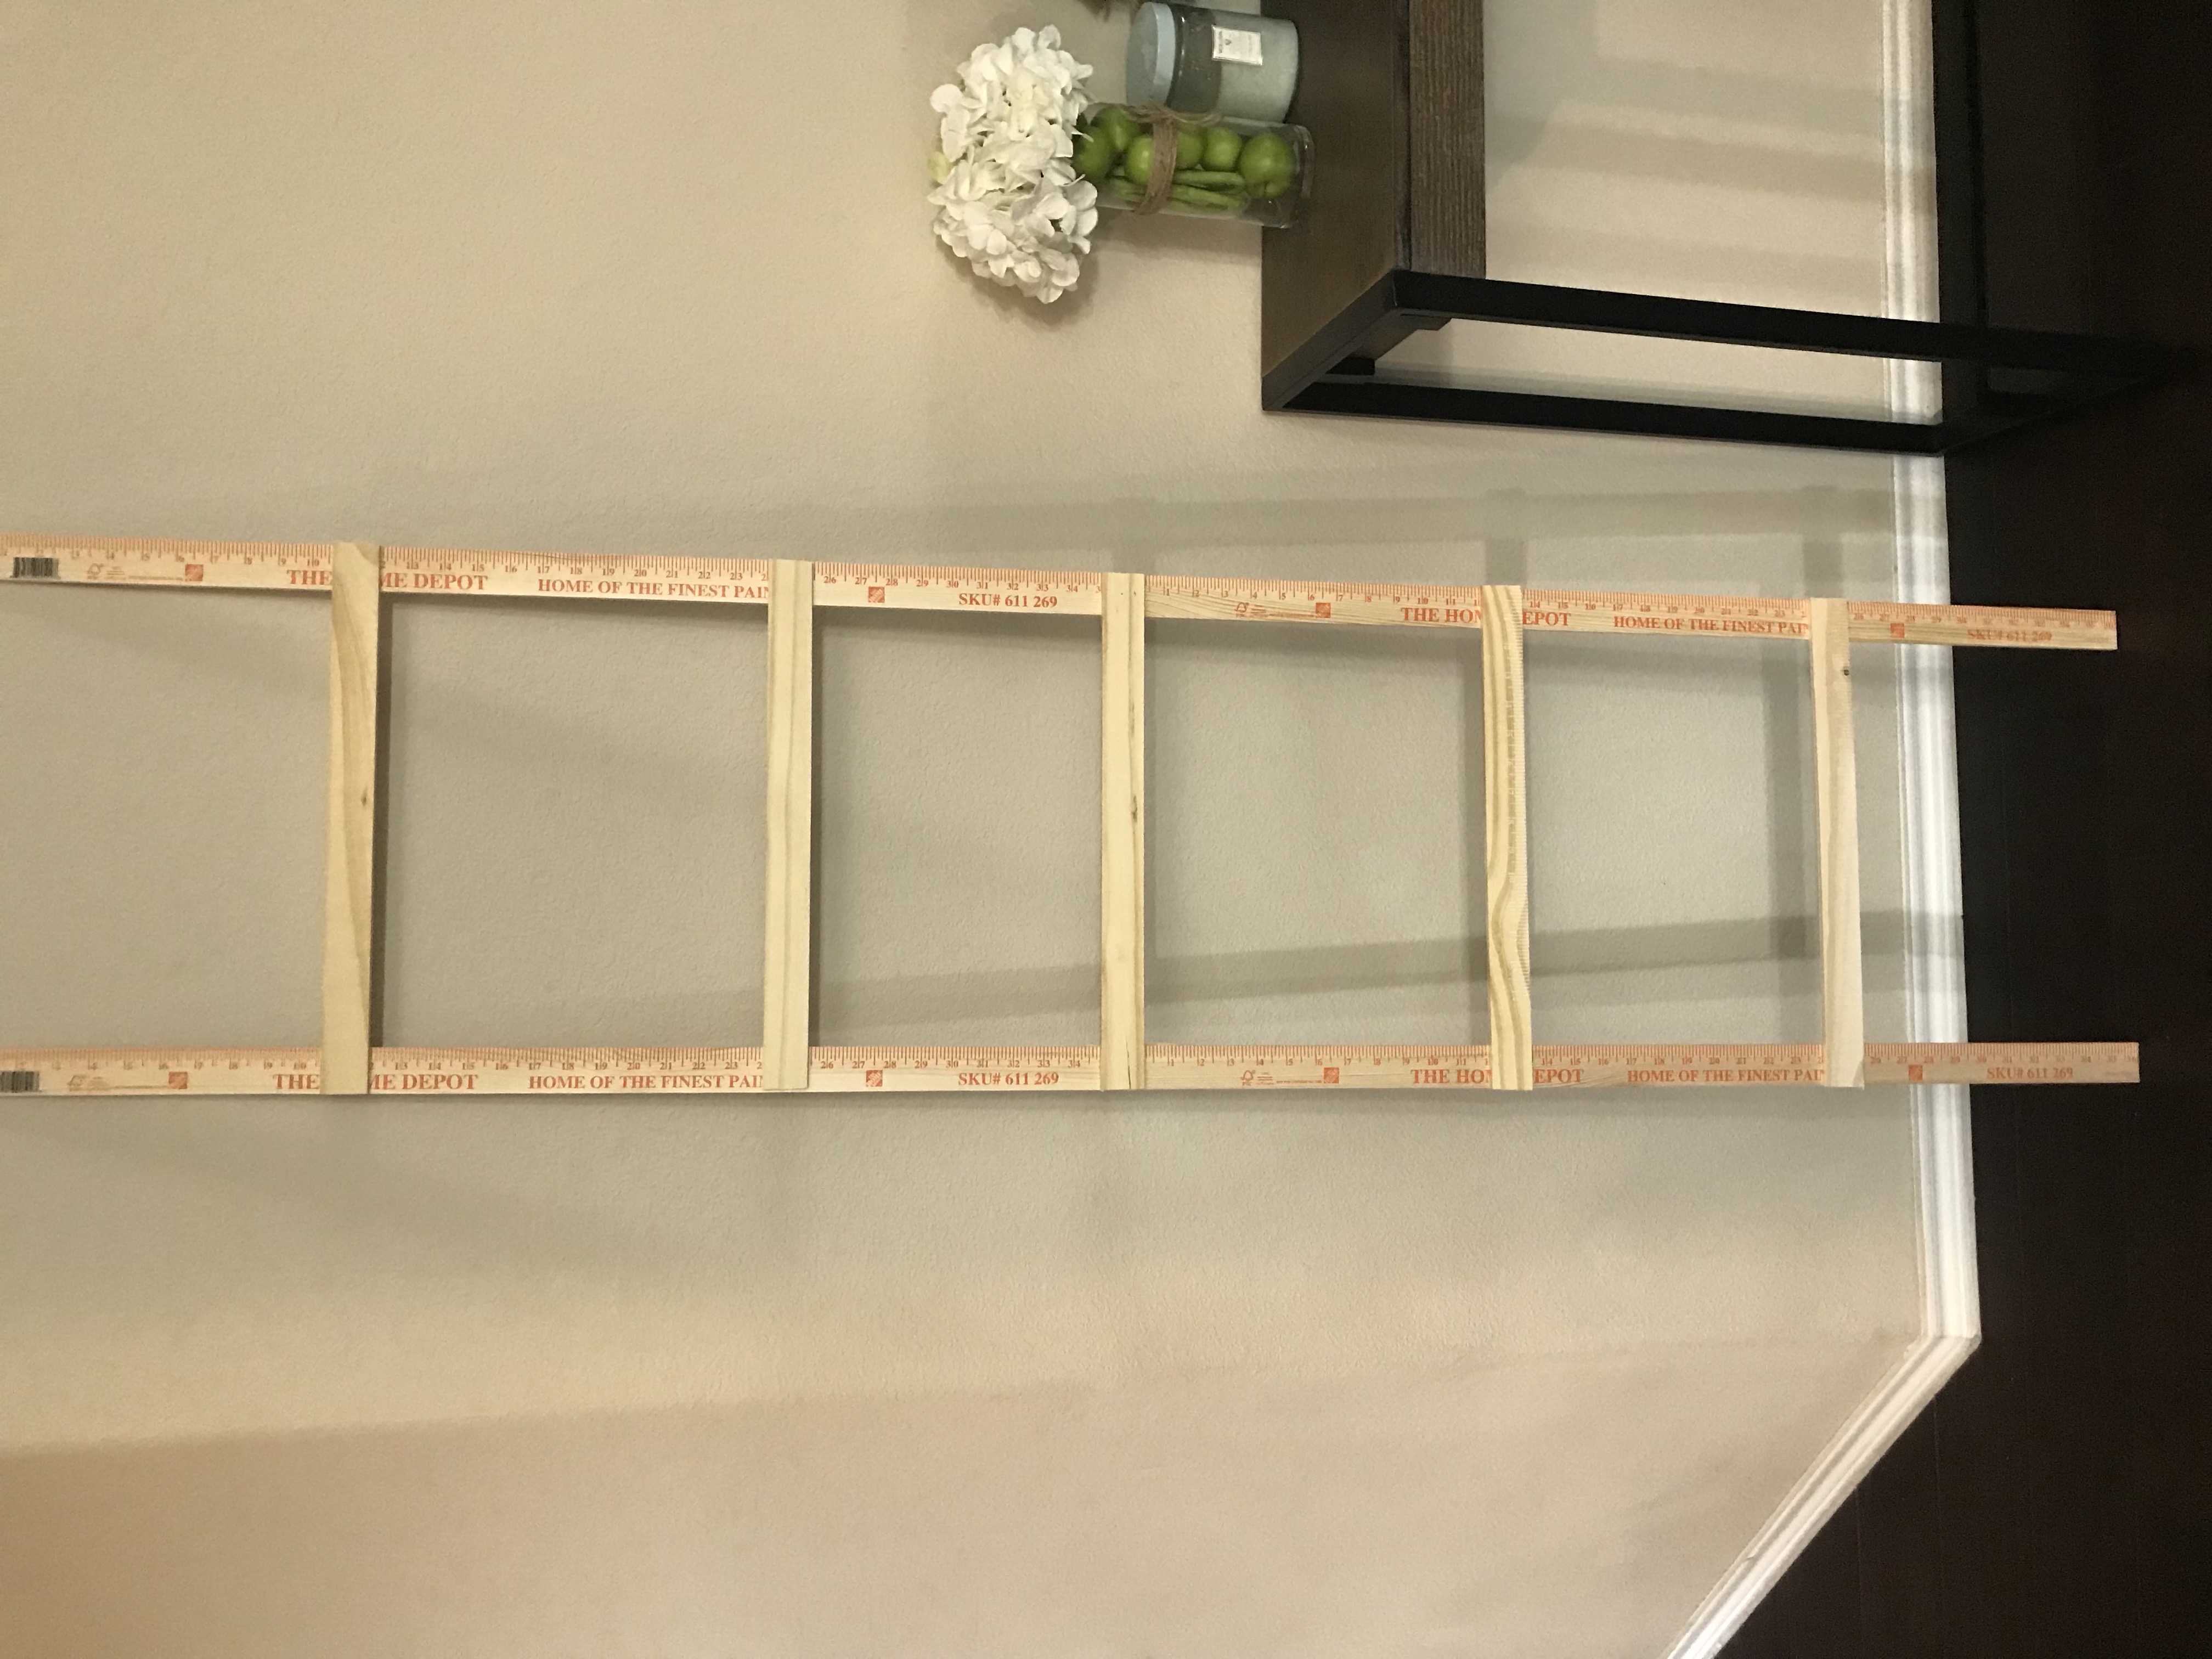
By the end of the night, my 6 foot farmhouse blanket ladder was born! Now I will be transparent here- this ladder is pretty flimsy. I wouldn’t dare store glass or any heavy items on it but it is perfect for blankets which is what I need it for. And for a $5 investment, who really care?!?! It’s just perfect for what I was looking for and anybody can duplicate this project.
Here is the rundown on how I made this farmhouse ladder on the cheap. The reason it only cost me $5 is because with the exception of the yard sticks and paint sticks, I already had everything else on hand.
Supplies:
4 36” yard sticks
Pack of paint sticks
Paint
Stain
Dry Paint Brush
Sponge brush
Wood glue
Clamps
½ inch wood screws
Screwdriver
Step One:

Cut off the curved edges of 5 paint sticks so you are left with only straight sticks
Step Two:
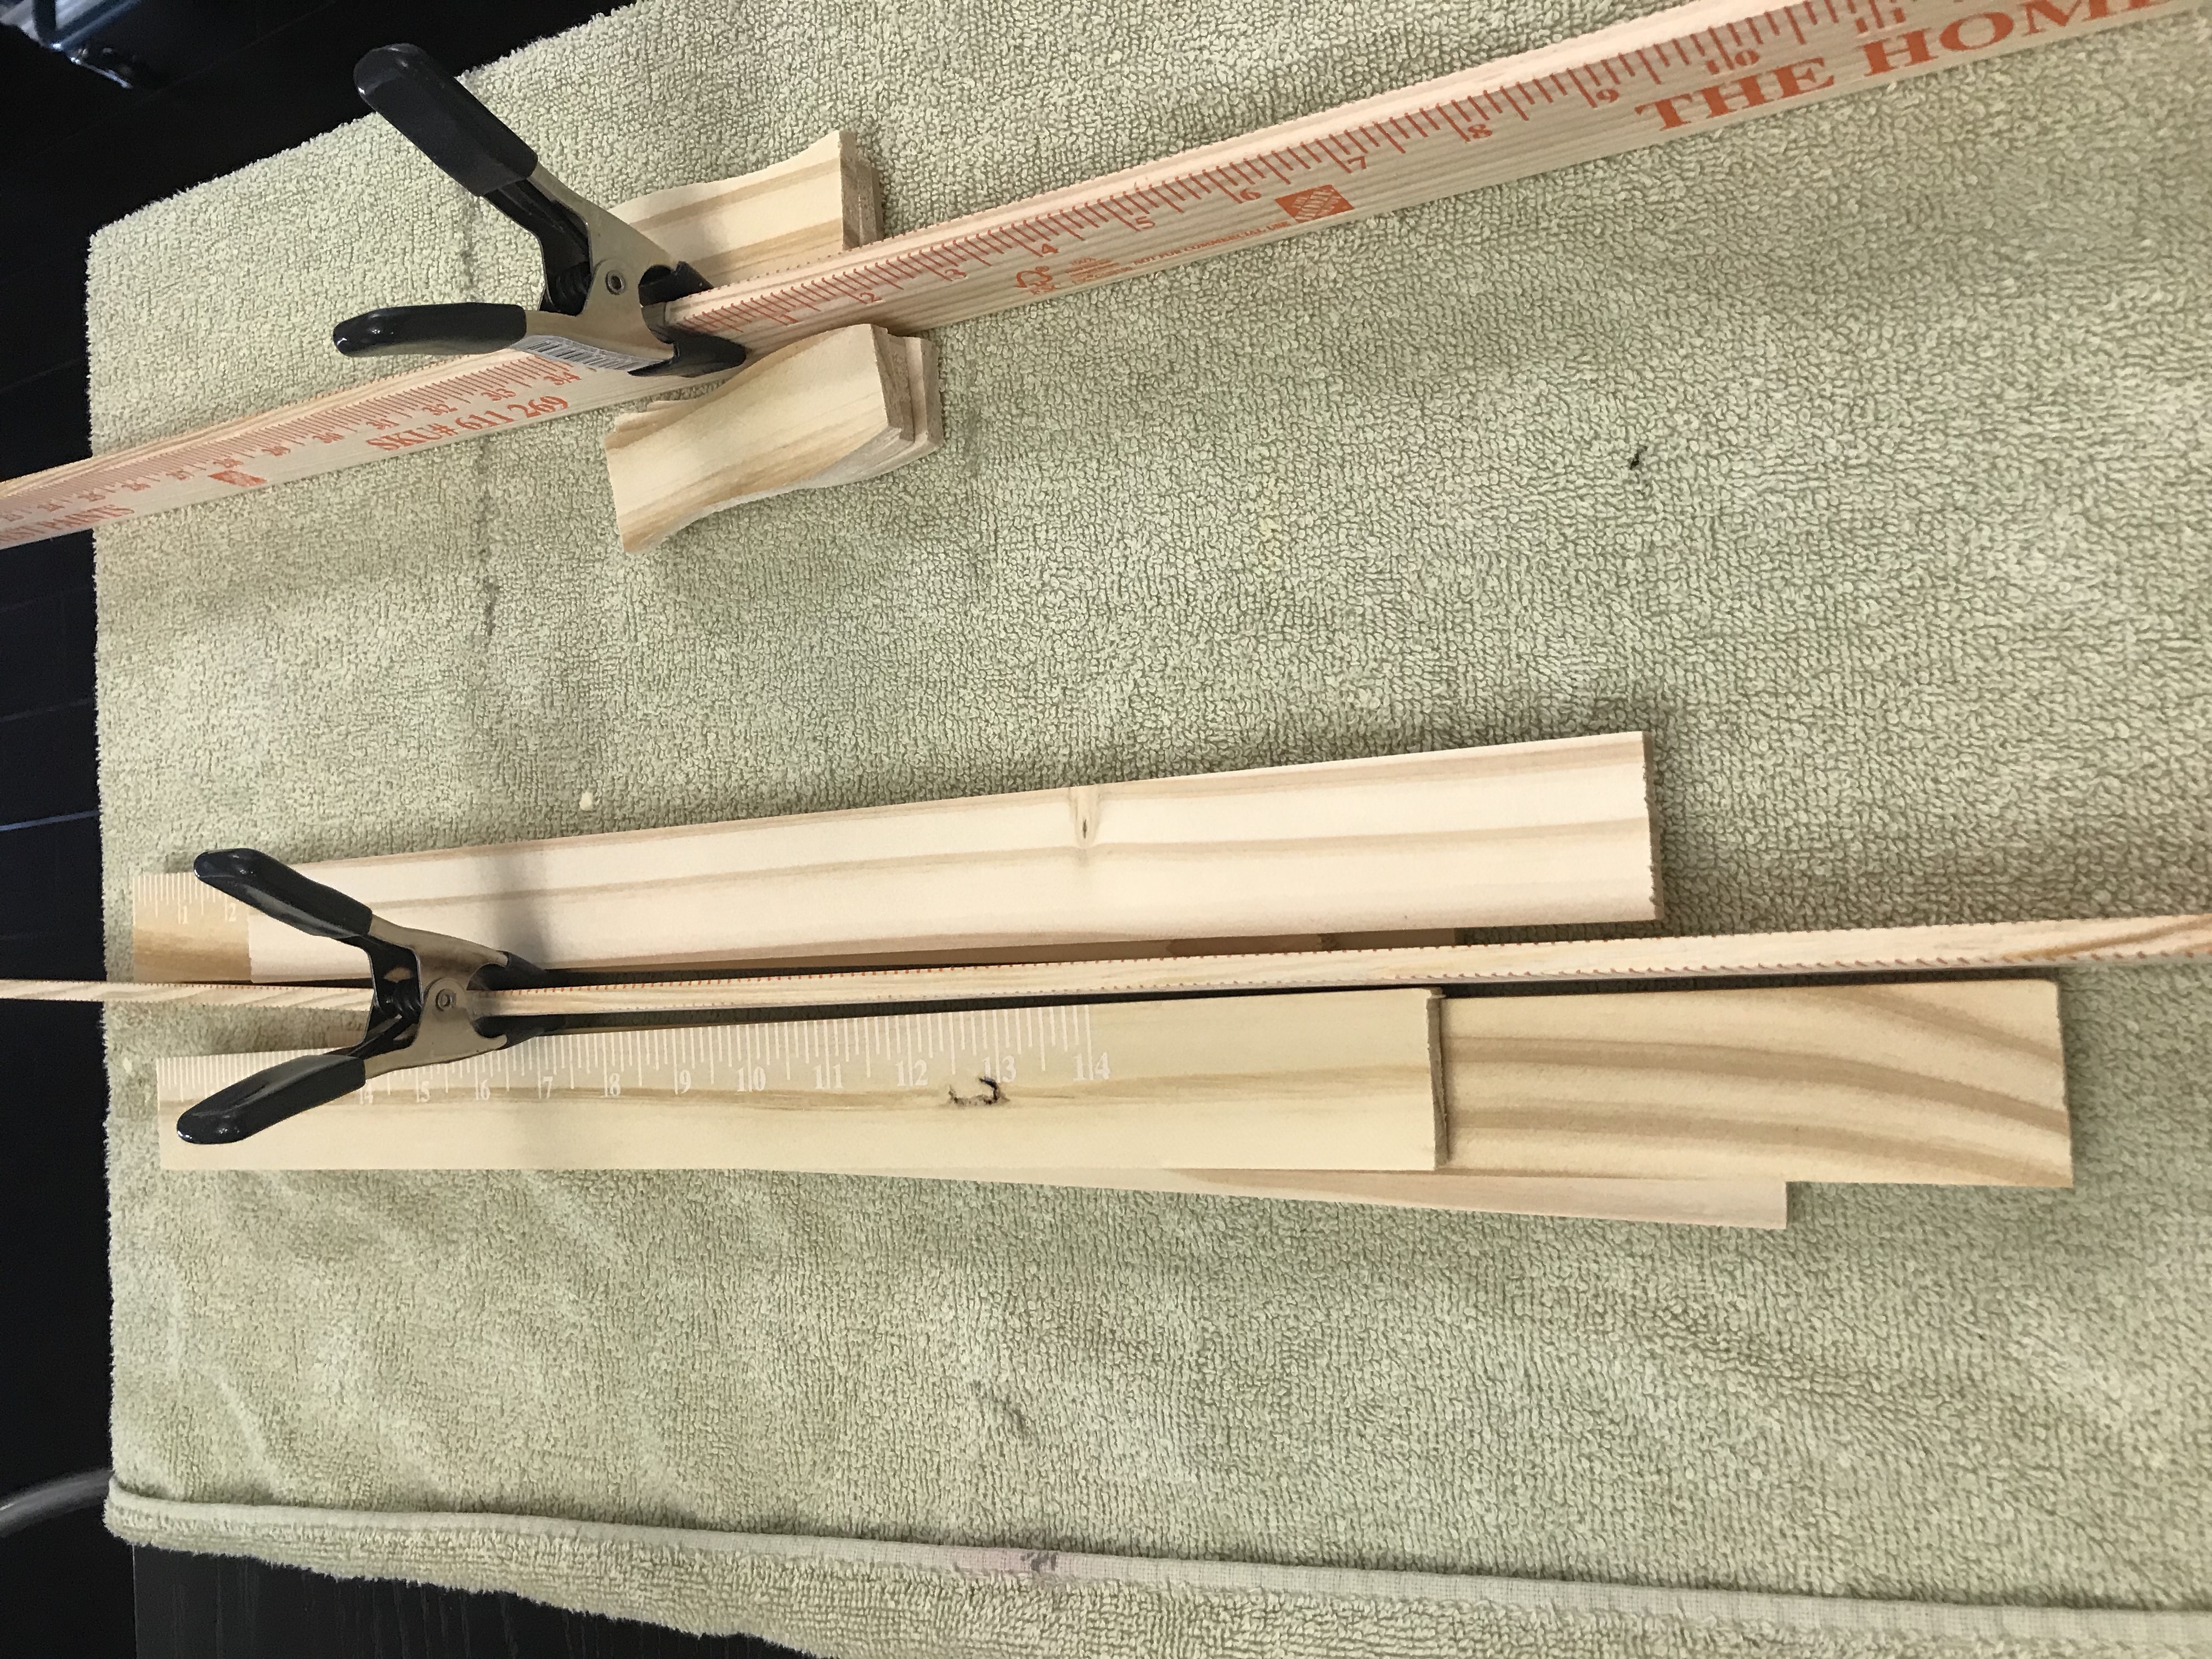
Using wood glue, join the two yard sticks together and hold with the clamps for at least 30 minutes
Step Three:
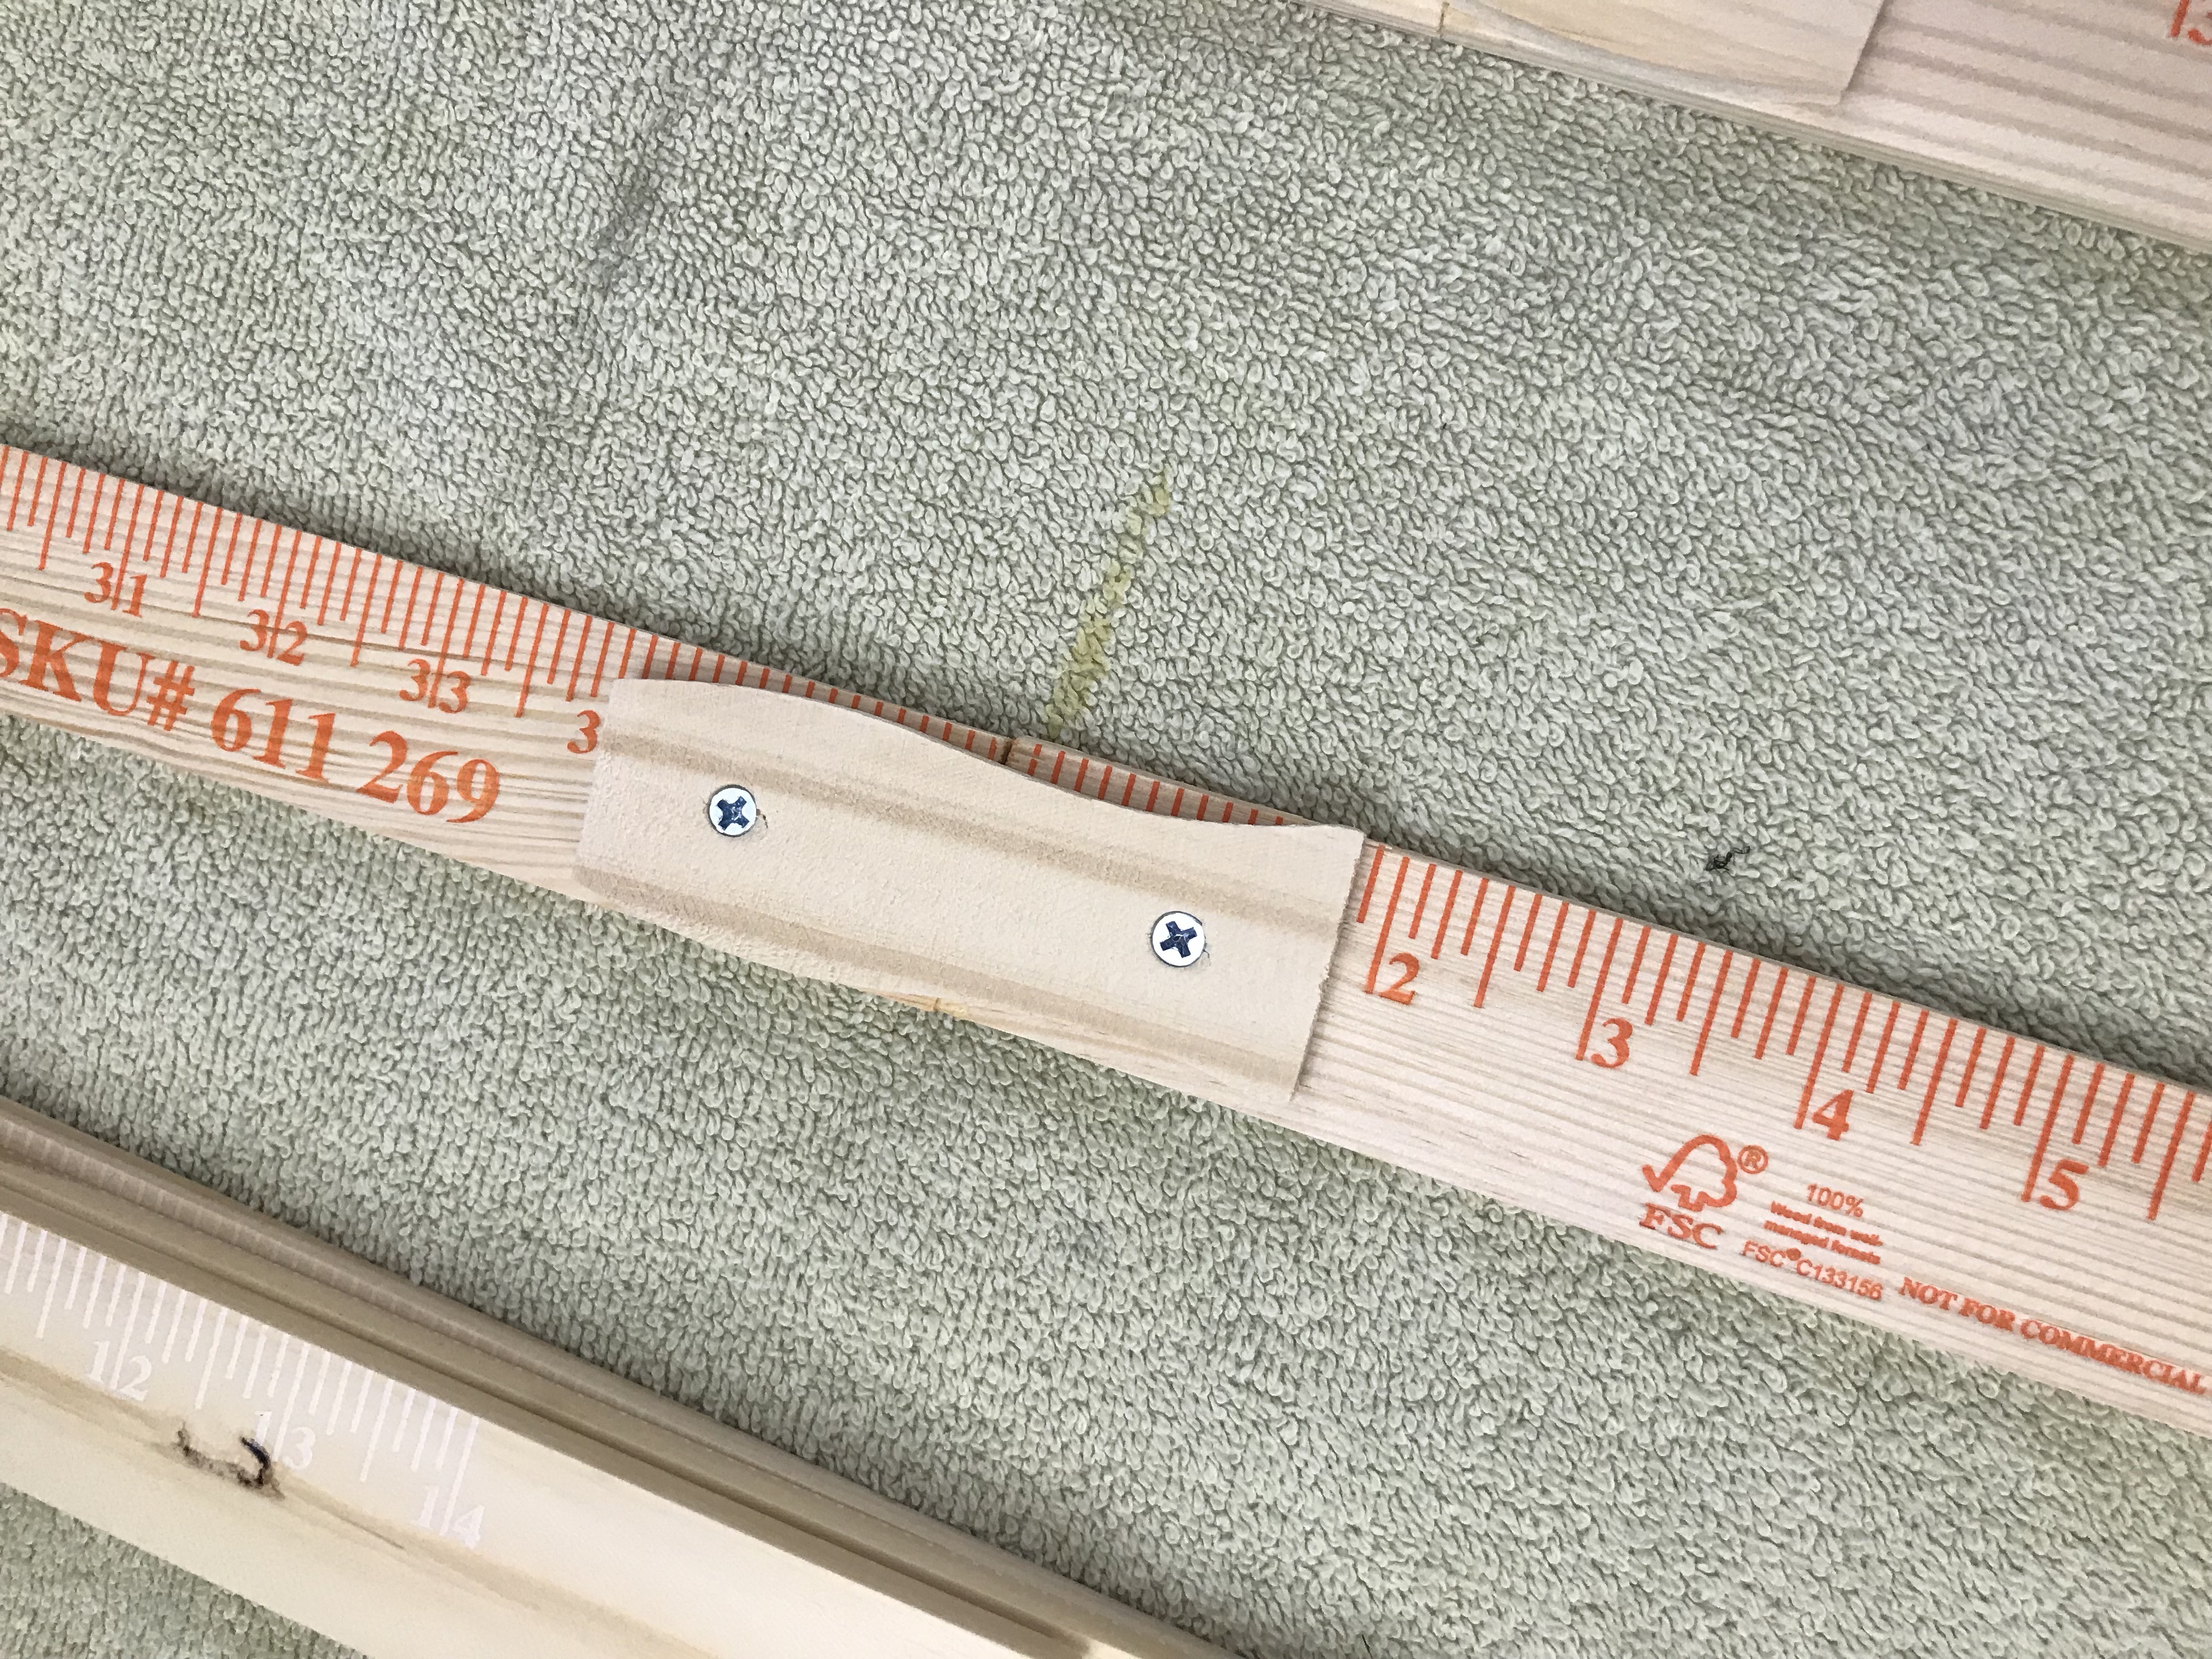
After removing the clamps, use 2 of the curved pieces of scrap wood, screw 2 of the wood screws at the joint where the two yard sticks meet
Step Four:

Place a paint stick 12 inches apart on the yard sticks. The fact that the yard sticks already have all the measurements make this SUPER EASY.
Step Five:
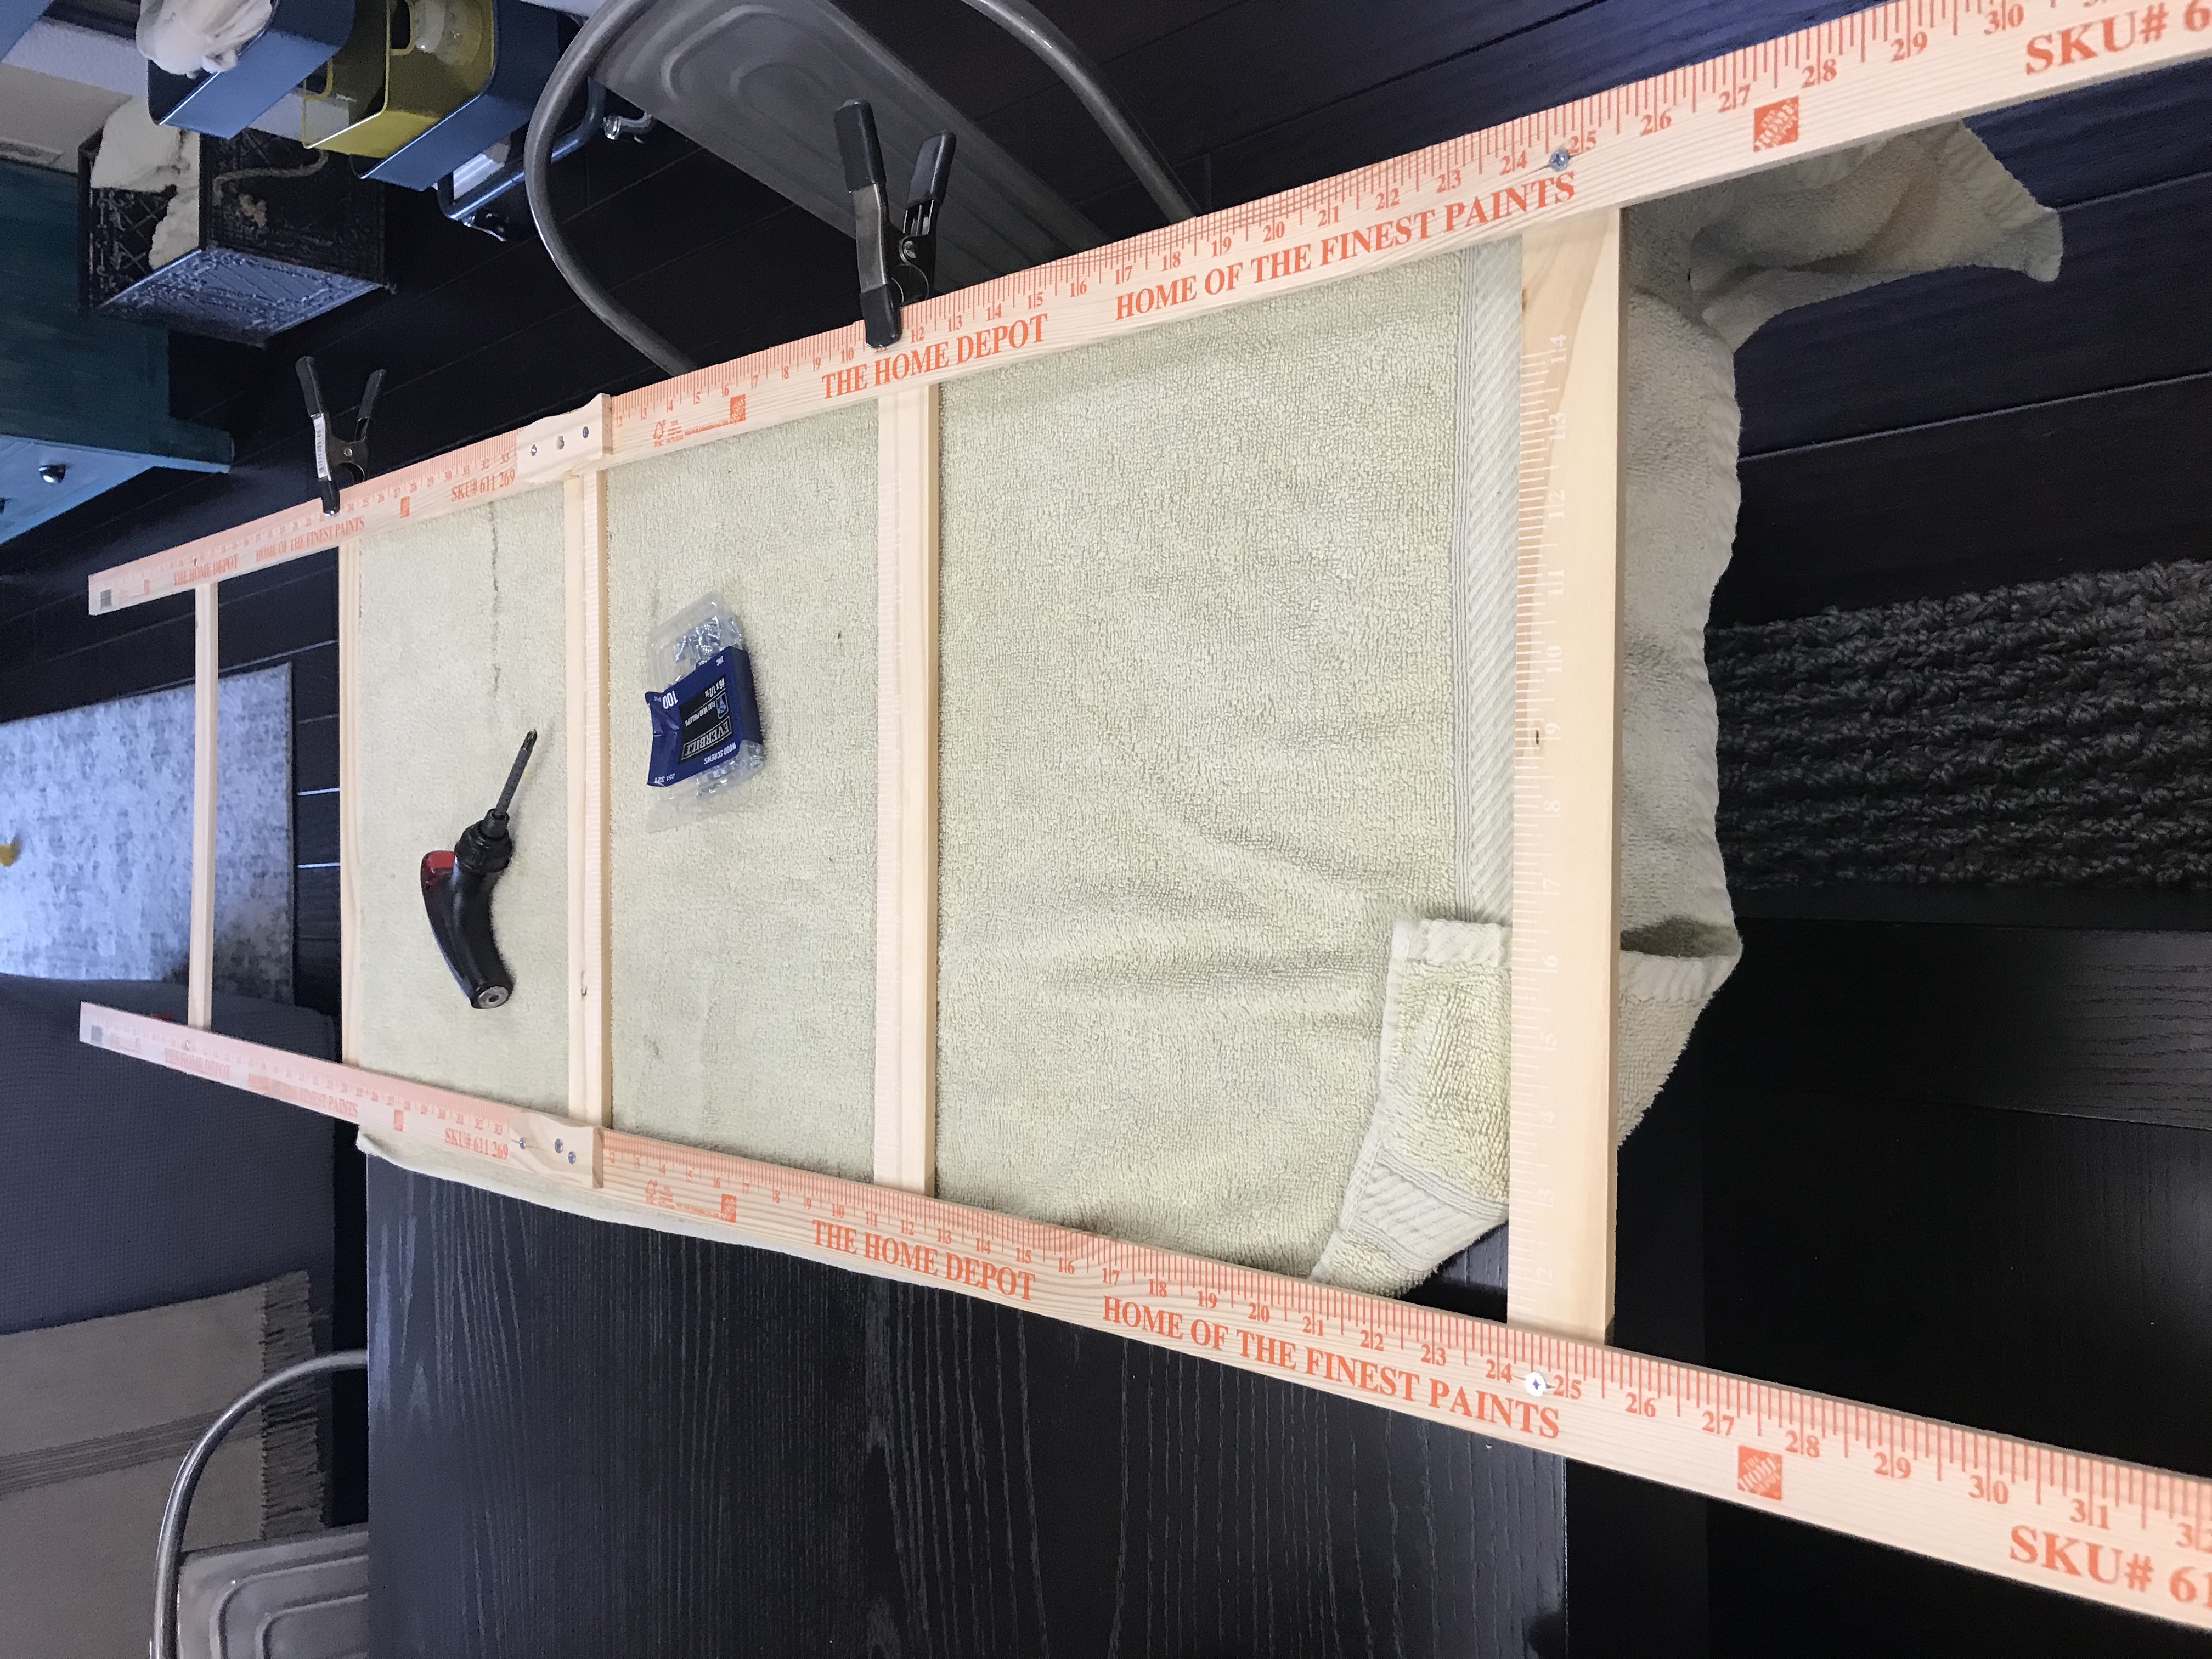
Make sure the paint sticks are on the opposite side of the yard sticks so that the screws are all showing on the same side. Stand up your new ladder and make sure everything even and level.
Step Six:
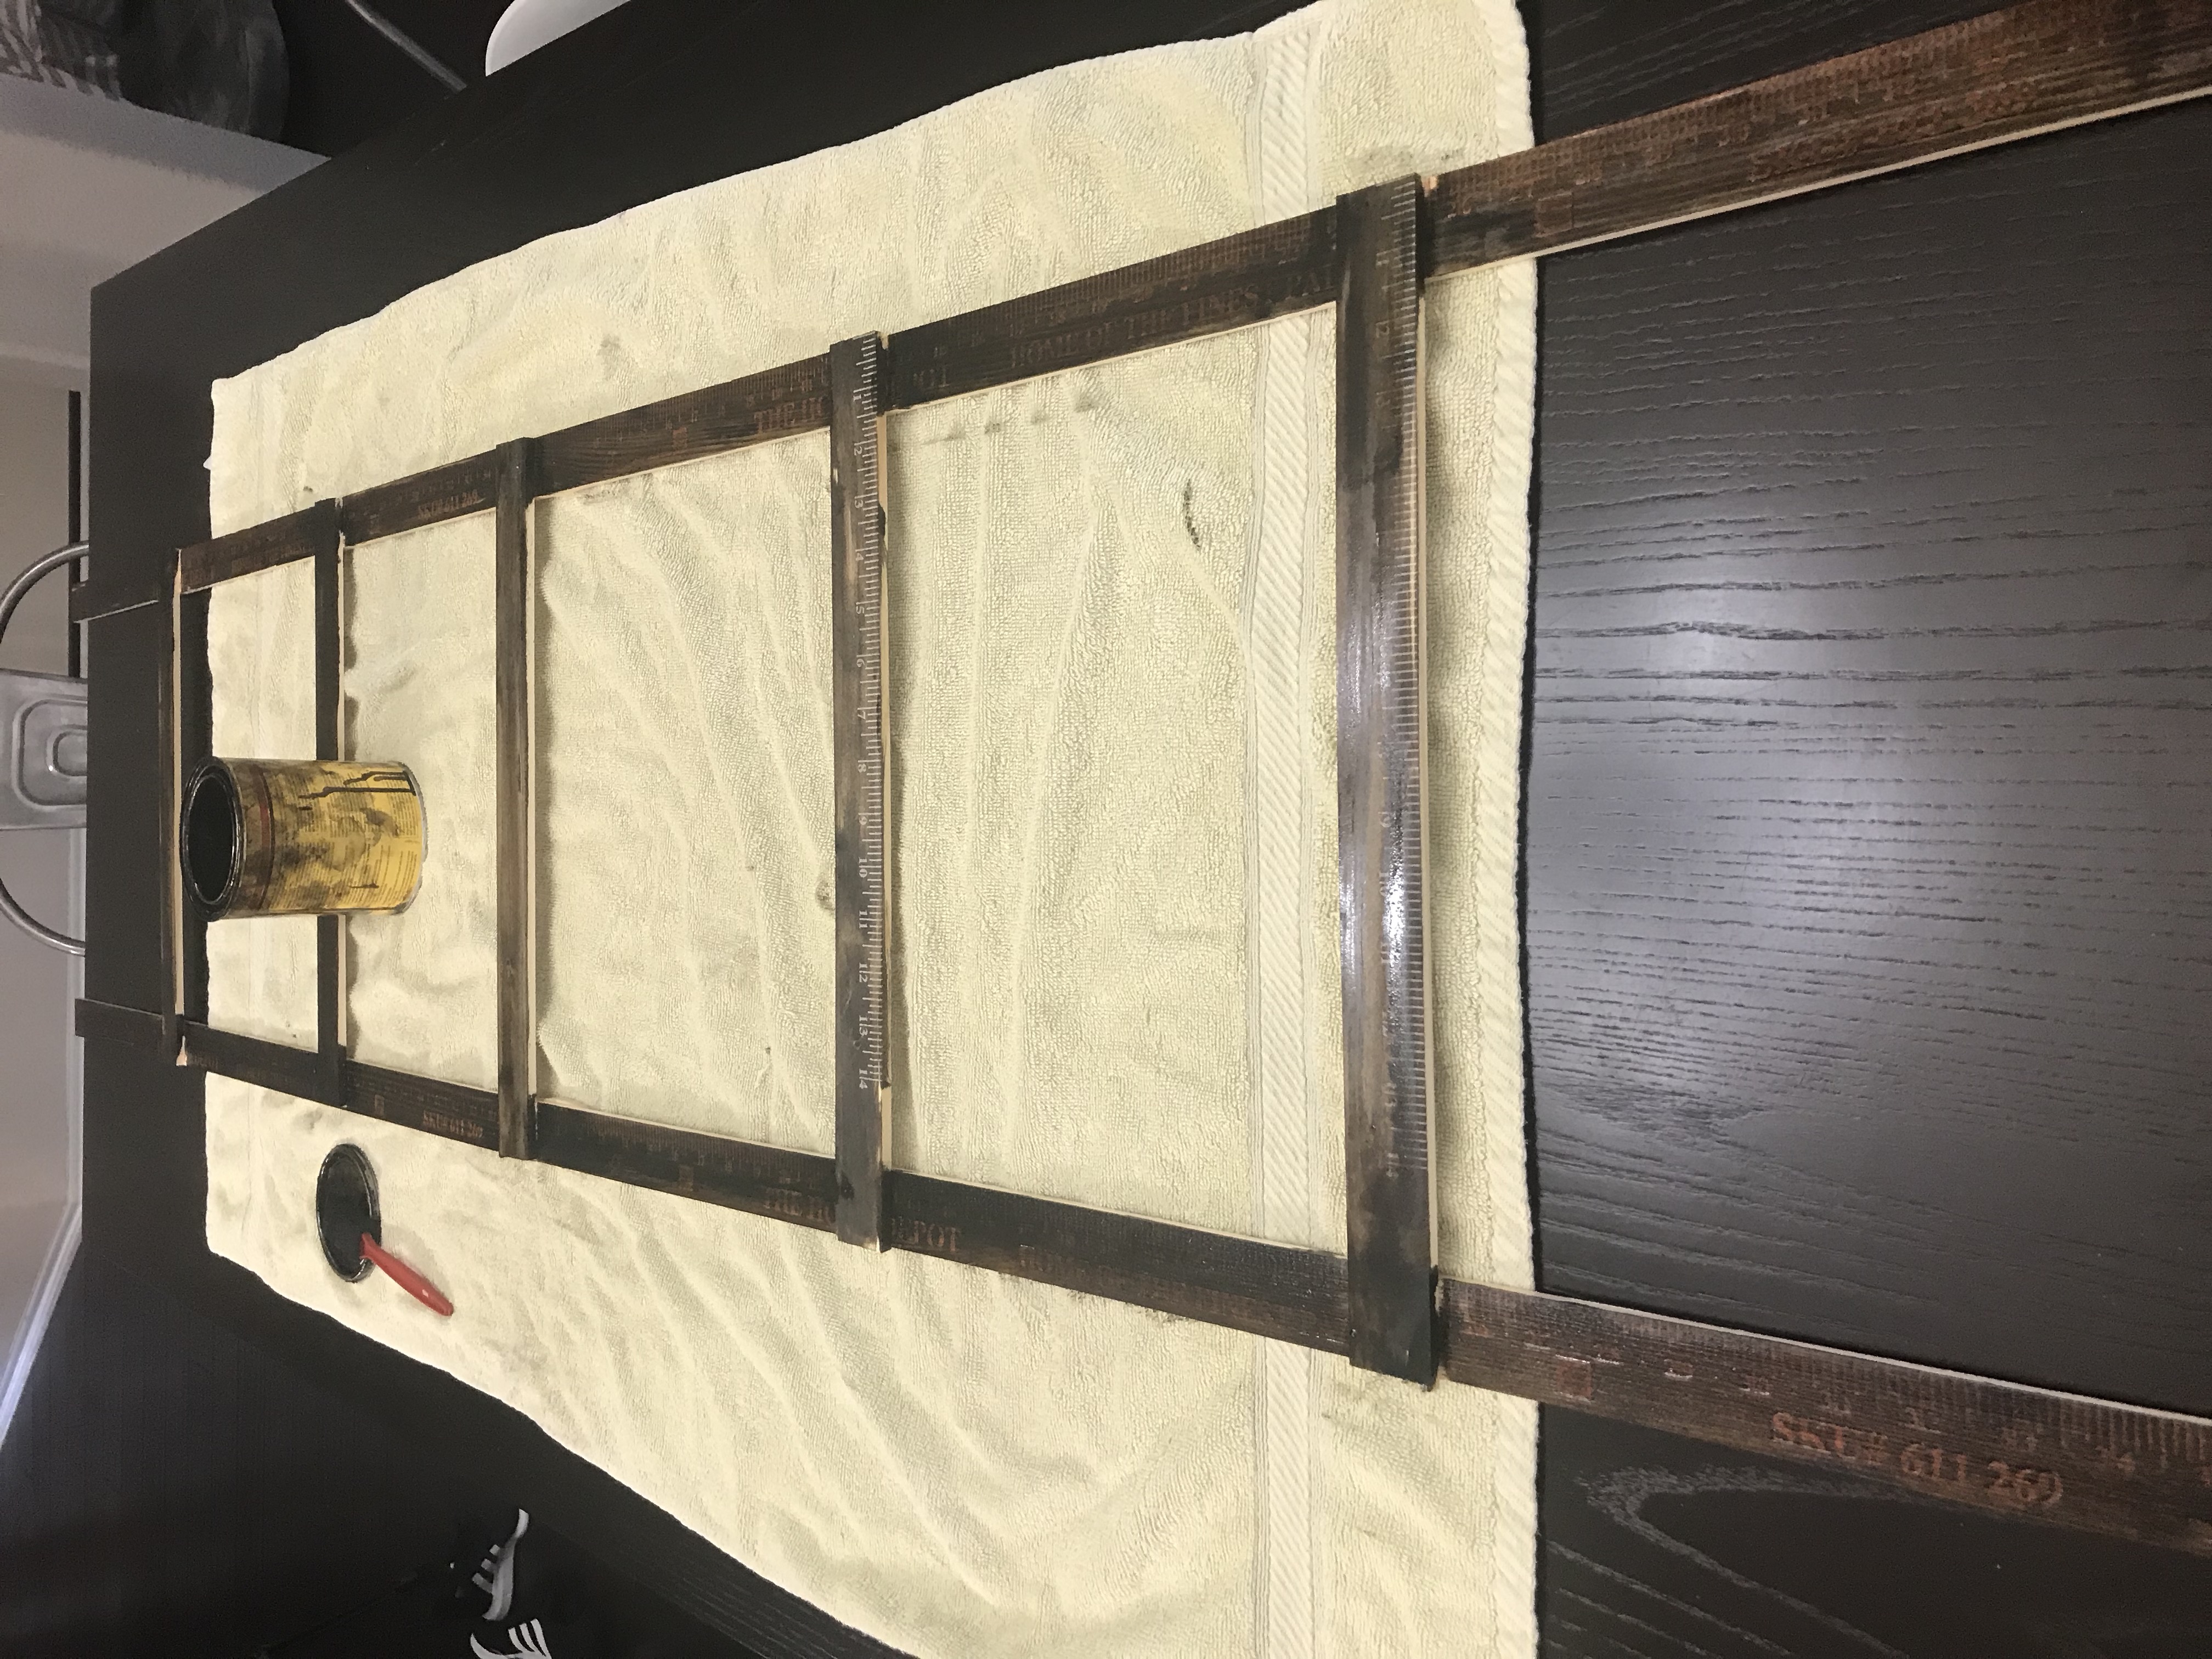
Using your sponge brush, apply some stain all over the ladder. I used Dark Walnut by Minwax. This does not need to be perfect.
Step Seven:
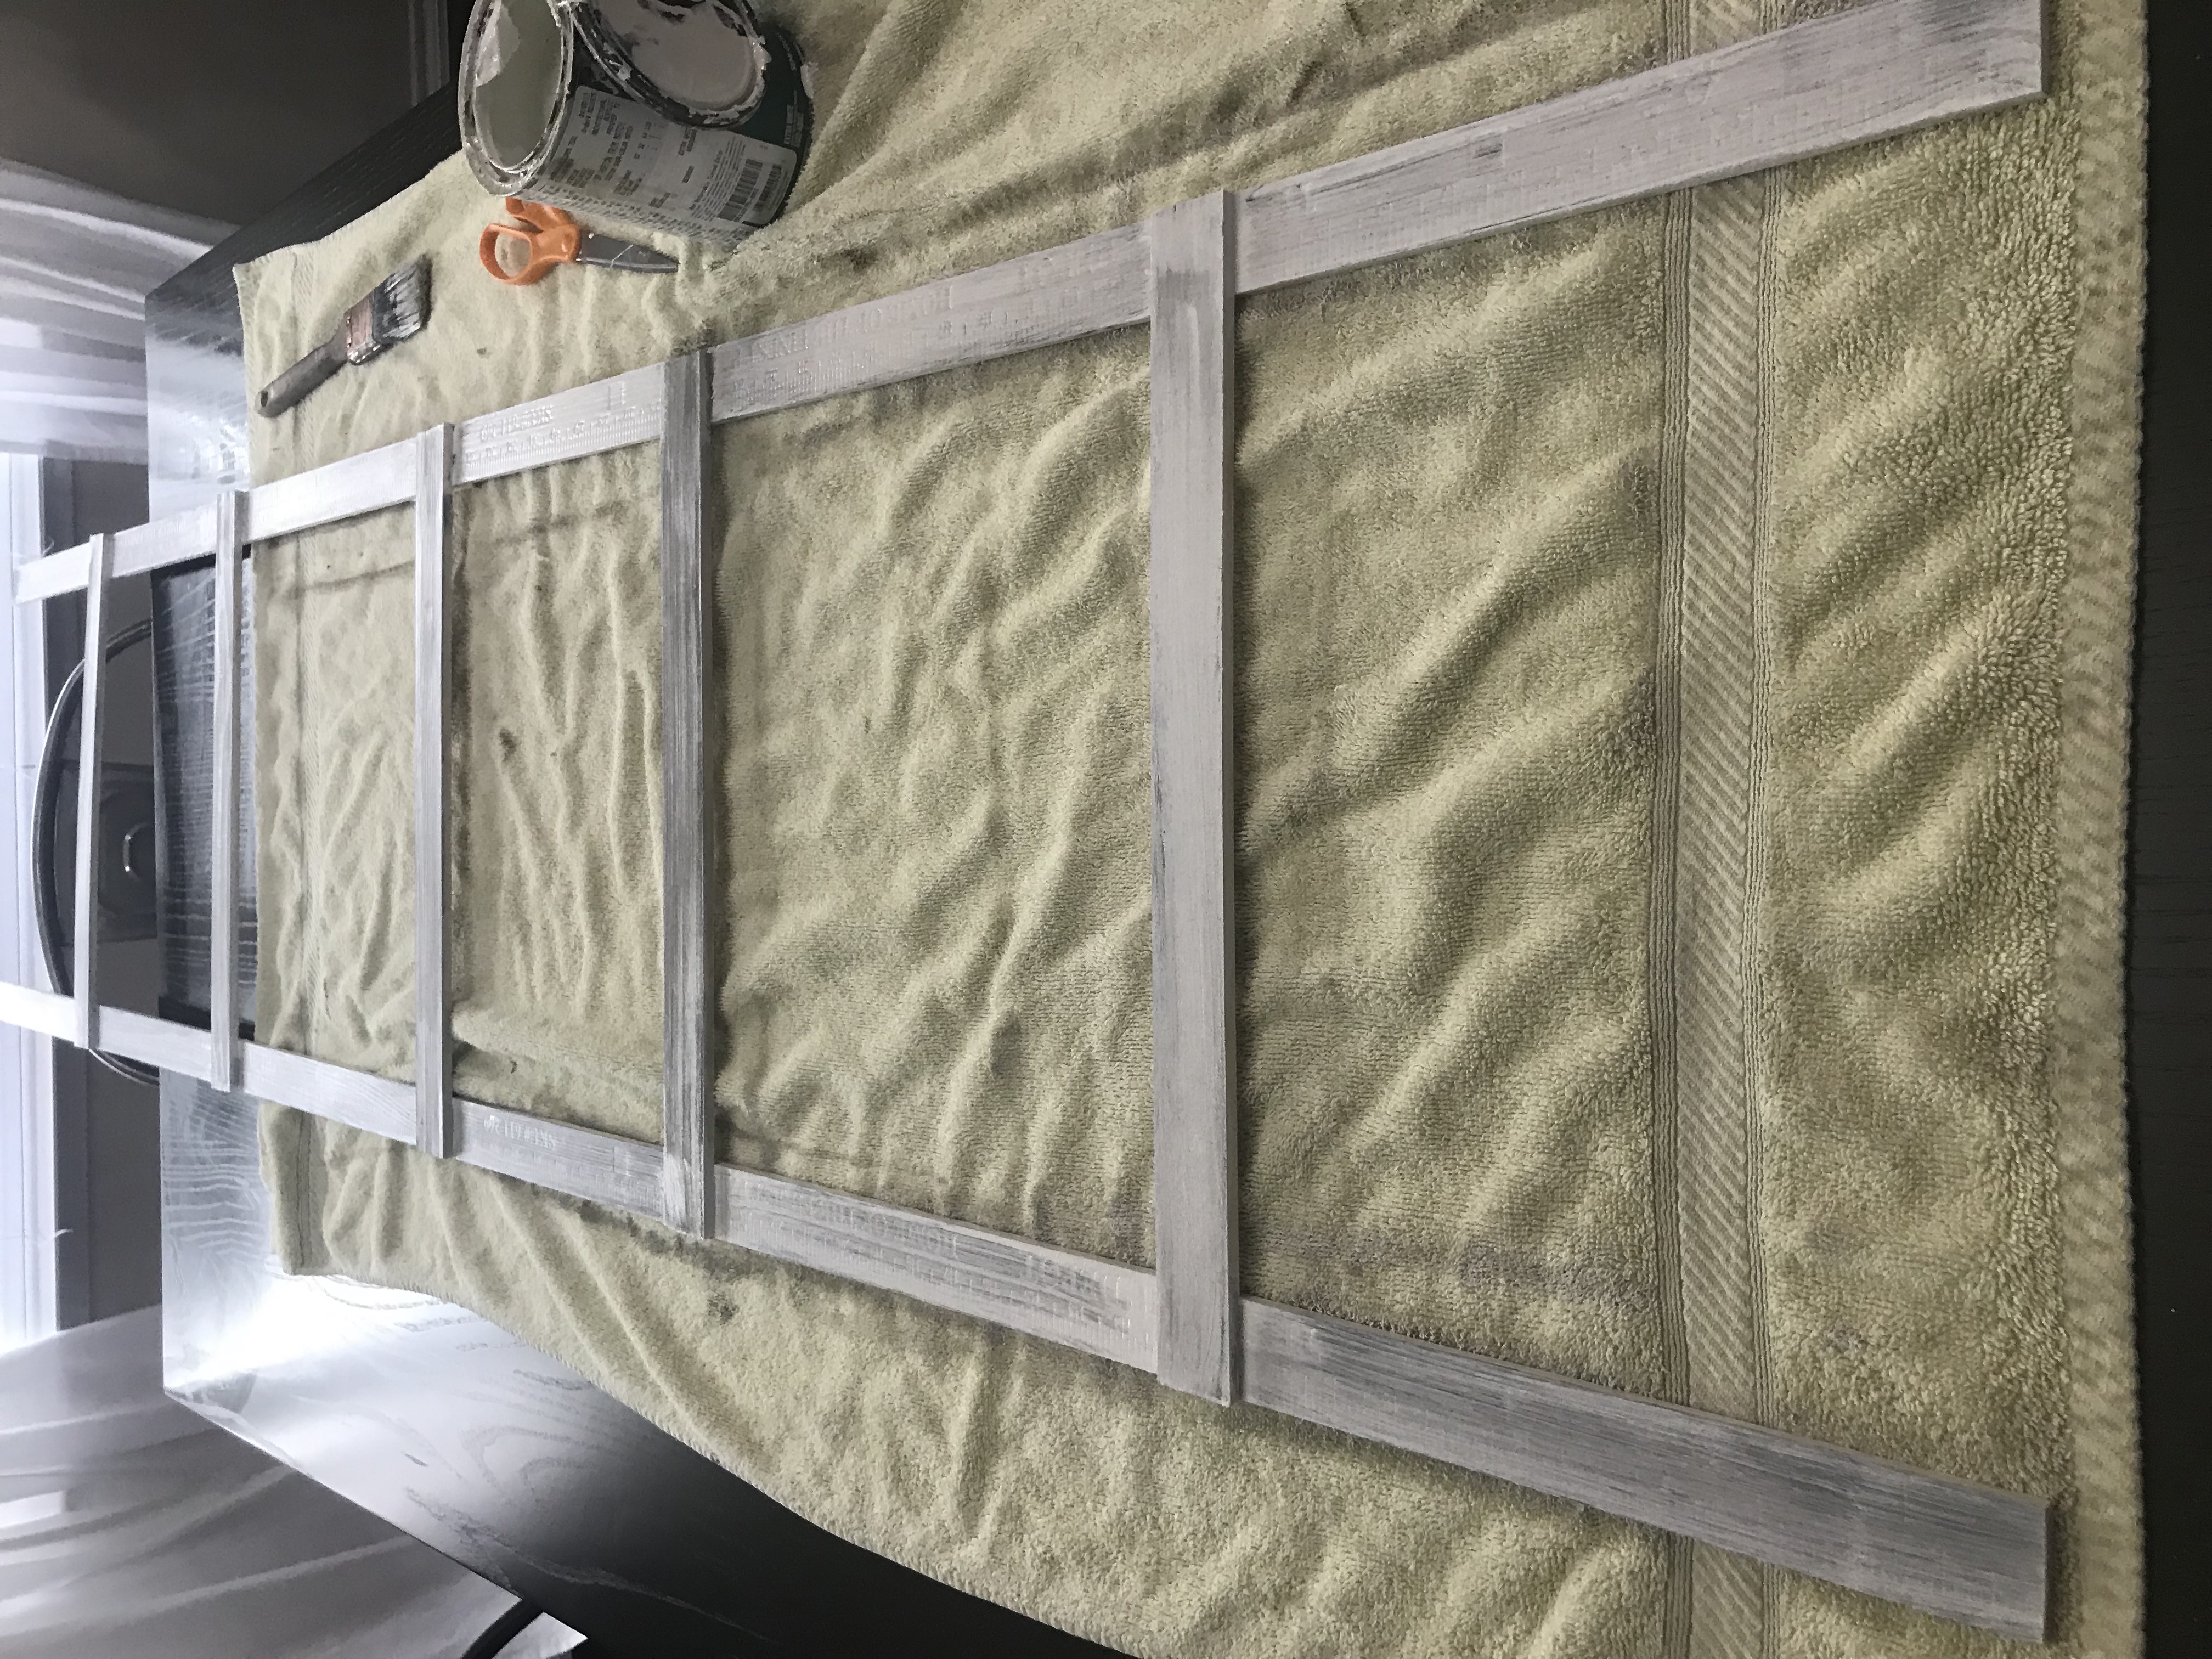
After your stain has dried just a bit, use a dry paint brush and apply your paint. I used some leftover white paint. This technique is known as dry brushing and is a great way to give a distressed look to any project. You will notice that the numbers from the yard stick peek through the paint up close and I personally LOVE it. It just adds to the character of the ladder.
Step Eight:
After your paint is completely dry, place your new ladder in your favorite spot and load it up with a couple of blankets!

Bonus tip: If you have some extra felt feet on hand, add one to each ladder leg to protect your wood floors if you have them.
That’s it! What do you think? Let me know in the comments! If you decide to take on this project for yourself, I would love to see! Tag me on Instagram @bytashahinton 🙂